Sub-Total: $0.00

BROODING CHICKS SUCCESSFULLY
We get a lot of questions about our chick brooding setup – so I took some photos!
I use big plastic storage boxes as brooders. For a group of 25 chicks, you will need one that is at least 30-45 gallons. The most important part is the floor – you want a box with a wide floor so the chicks get as much square footage as possible.
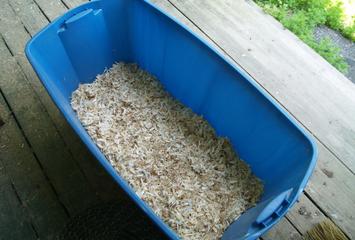
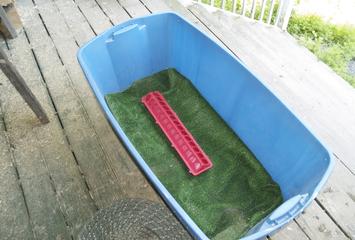
I start by putting a layer of pine shavings for absorption on the bottom of the bin. The pine shavings alone on the slippery plastic wouldn’t give the chicks enough sturdy footing. So I add a piece of indoor-outdoor carpeting or an old terry cloth towel.Â
It’s ok if there are little hills – the uneven ground may even help in leg and foot development.
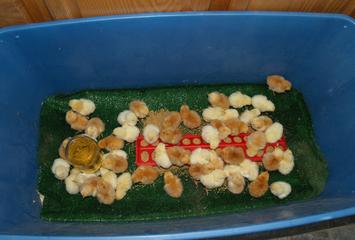
The red chick feeding trough can be purchased online or at your local feed and grain. It really helps in keeping their food nice and clean.
It is often recommended that chicks be given an electrolyte powder of some sort upon arrival. And especially if they had to travel far in the mail, they may really need an energy boost and a little extra nutritional support.
I don’t like the chemicals in most commercial chick powders though. So I use stinging nettle tea instead.
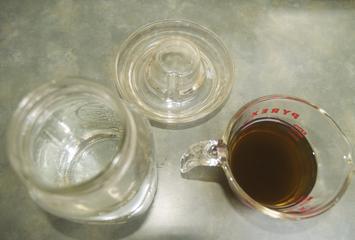
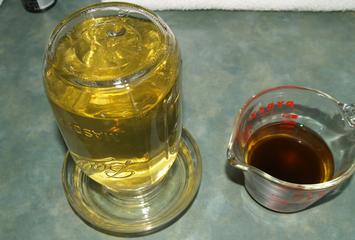
Stinging Nettle is full of minerals and is very nutritious. I use about 1/2 cup of dried nettle to about 6 cups of water. I add 1/4 cup of honey to it while it is still hot.
Then I let it cool down, dilute 50:50 with water, and use the tea in my chick waterer. ​

I try to avoid plastic so I bought some antique glass chick waterer bottoms that can be used with any mason jar.
If you are going to use the plastic ones, I recommend starting with the quail size for very young (1-2 week old chicks). Then switch to the regular chick size ones. ​
Heat lamp clamps securely to the side of the plastic tub. Be sure this is very secure – it is a fire hazard.Â
There is a red bulb in this picture, but you can use a regular white heat bulb as well. I just happened to have red one on hand.
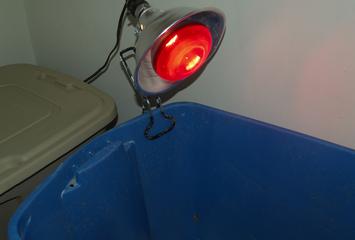
And then you’re ready to add chicks!
This is an 80-gallon box, with one-week-old chicks. They are getting crowded though so I would have to split them up into a second box in the next day or so. Chicks grow so fast!!
So cute – enjoy them while they’re little fluffs!